
When you choose the option to sell your home privately over selling through a Real Estate Agent, you will not only save thousands of dollars in Agent’s fees, but you will also learn a great deal about the Real Estate market in the process, which could lead you on to other things in the Real Estate sector, for example, Renovating for Profit. Read on and learn more about how to sell your home in Australia.
Selling Your Own House in Australia
Selling your own house is an exciting experience, one that is both challenging and rewarding.
Thousands of Australians every year successfully carry out their won private property sales. And, like them, you can save thousands in unnecessary real estate agent commissions and fees.
In Australia, there is no requirement to use a real estate agent to sell your property, which is why For Sale By Owner is often the best way to sell your house, property or land. The savings are significant and when you take control of the process your personal satisfaction rises and your stress levels reduce.
.
In this article I talk about the Marketing side of owner selling.
.
Photography
The saying “a picture is worth a thousand words” is particularly true when it comes to Real Estate.
You will want to have a good set of photos for you online listing as well as for any other marketing materials you produce, such as a brochure. Good photos can make all the difference on how attractive and appealing your home is to potential buyers.
If you are particularly competent and brave, you may want to create a video tour of your home that you put on Youtube. This is an excellent way to market the sale of your home, so investigate the possibility of having this done. For now, we’ll simply talk about photography.
In order to put your home in the best possible light, you will want to take most, if not all, of the photos of your house after you have completed the cleaning and de-cluttering tasks that I mentioned in part one of this series of articles.
Once you are ready to take photos, be sure to “stage” each picture. Here are some helpful tips:
- use a mixture of close-ups and middle distance ones, particularly for outside. It is good to have a least a couple of photos that show the gardens, trees, shrubbery and lawns in conjunction with the house or other buildings. Of course, the lawn, trees, shrubs and gardens should all be neatly trimmed for the photo.
- For indoor shots, open curtains, doors and drapes to allow as much natural light to come through as possible. This may often mean shooting one side of the house in the morning and the rooms on the other side in the afternoon.
- Remove all clutter in all shots, such as items on bedside tables, appliances in the kitchen, papers scattered on desks.
- For the bathroom hang towels neatly and remove soap, toothbrushes, cosmetics and other items. Turning on the overhead heat lamp may help to make tiles, basins and mirror shine a bit more.
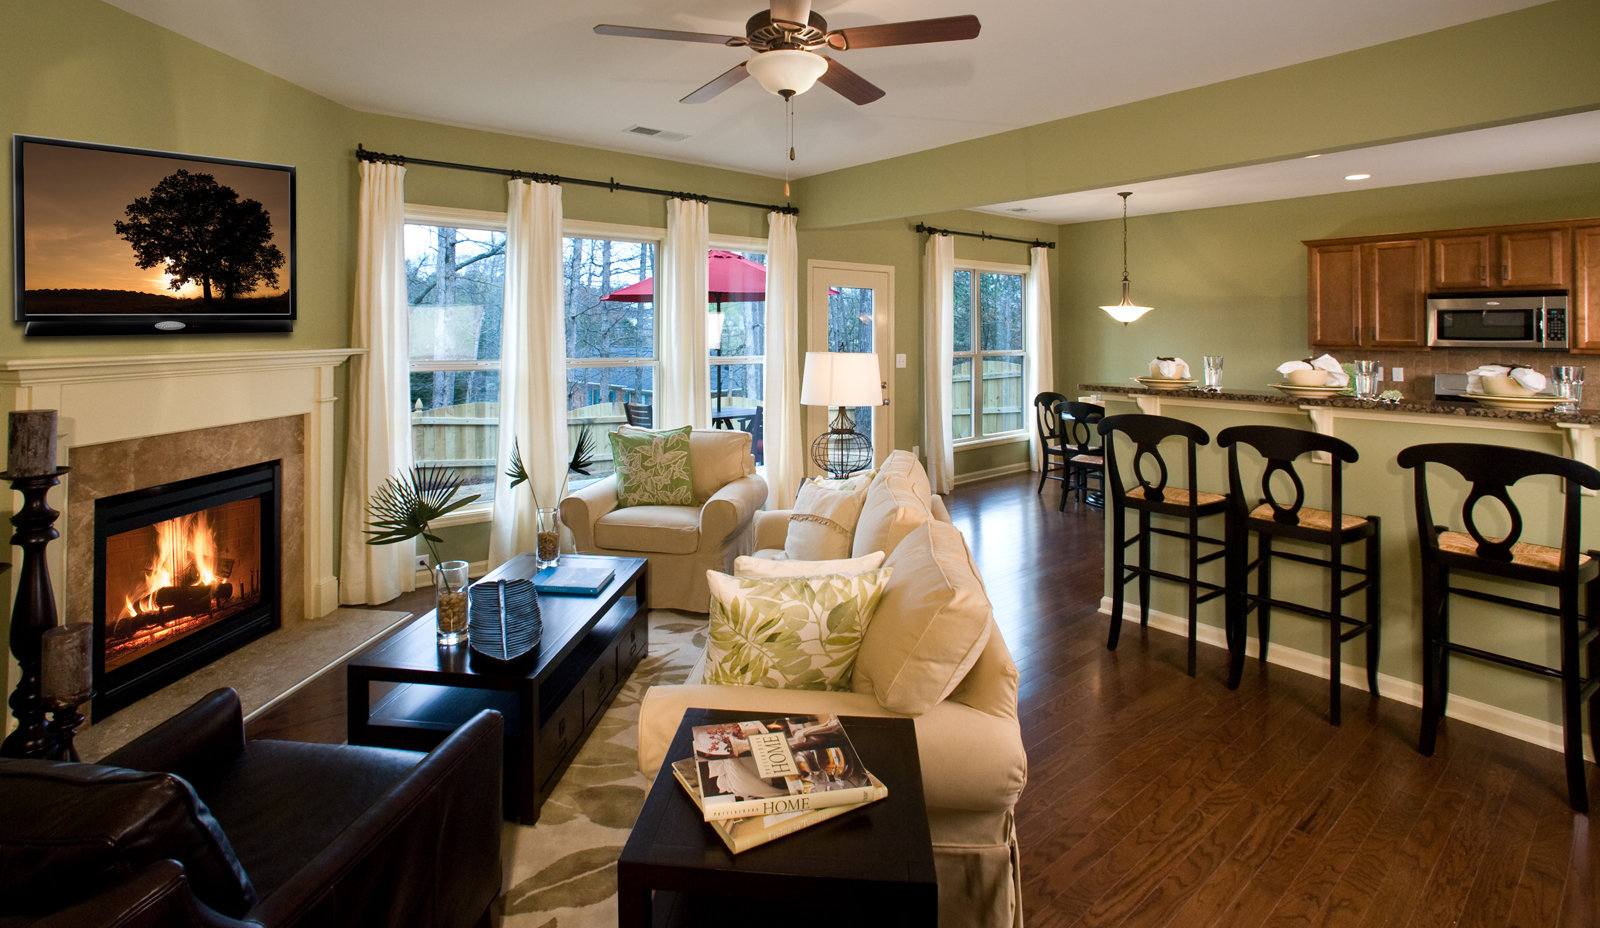
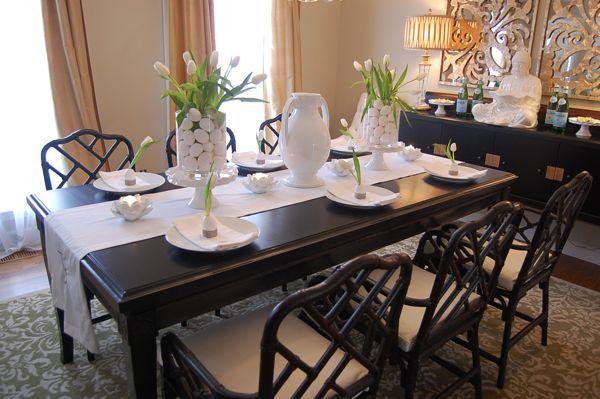
- The dining table, however, should be set with your best plates and glasses, along with an attractive centrepiece. Otherwise an empty table will loom too large in the photo and distracts from the view of the room.
Taking professional looking real estate photography is important when creating a visually stunning display of photos. If you are a beginner with photography and camera equipment, then you may not be familiar with lighting and how to capture it the right way. Lighting plays a major role to capture colors as well as to reveal form and texture within an image. Following the correct guidelines and remembering these tips will help you learn more about lighting and how to create beautiful photos.
Balance the Light
– Examine different source of light (such as natural). Understand the characteristics of light and notice the hardness, softness, direction, and visible colors. Hard light (direct light) produces vivid colors that stand out and creates stronger shadows. Soft light (diffused) will produce more pastel tones and softens details within a photo.
– Pay attention to the colors shown in your photos. Colors tend to set a certain mood for the person who is viewing them. Shooting photos at different times throughout the day will allow you to capture different tones, colors, and light effects. (Taking photographs during the early morning hours can capture great tones). The sun brings out blue hues in the morning hours and creates a crisp effect. Closer to noon or later, you will find softer colors and diffused light which will create a natural effect.
– To make a house look cozy and inviting, there is nothing more important than balancing the light from the windows with the light outside. The key to achieving this balance is picking the right time of day. Even with all the lights blazing inside, nobody will notice them in the middle of the day. But as the sun sets, there will be a window of time when the exterior of the house can be properly exposed while the interior appears to glow with warmth (thanks to man-made lighting.) This may only last for ten minutes, so make sure everything is in place in advance.
– Do not over use your flash because the photos will become too bright and shadows will be extremely harsh.
– Test out different angles to play with the lighting that is being captured so that you reduce heavy shadows.
– When shooting interior photos, make sure that you have enough lighting from lamps, overhead lights, windows, etc. Do not allow too much light in your interior shots because the details can easily be lost. (Shooting in the dark with heavy flash is usually NOT the best idea).
– Photography is an art and lighting makes up a huge part of it. Practice and try different environments until you are familiar with the types of light sources and the effects they produce.
Tidy Up
This may seem obvious, but mowing the grass and cleaning the weeds out of the gutters will make a house look a lot better. A few minutes with a broom can save you from an hour with Photo-shop’s stamp tool.
Pick an Angle
Shooting from an angle rather than straight on gives the house dimension and character. It also gives you at least two choices of what to include in the background, so pick the angle that is flattering to the house and provides the best backdrop.
Watch the Weather
Shooting on a cloudy day will give you the best lighting for a house. The light will be even and diffused so you won’t have harsh shadows to deal with.
Shoot in Raw
Because of the challenge of balancing natural light outside with electric light from the windows, this is a great time to use your camera’s RAW setting. With your RAW converter you can tweak the balance between the lighting and adjust the white balance to emphasise the warmth.
Follow all of these tips combined and you should be able to produce great stills and panoramic photography for all of your marketing material.
If you are not completely comfortable with taking your own photos, or if you do not have a good camera, you will be better off engaging a professional photographer. This is usually not an expensive option and thus well worth considering.

Please read more in the next article……